
The Journal
How to shoot surf photography from the water (a working method, not a gear list)
By Tommy Pierucki, Waikiki. July 7, 2026.
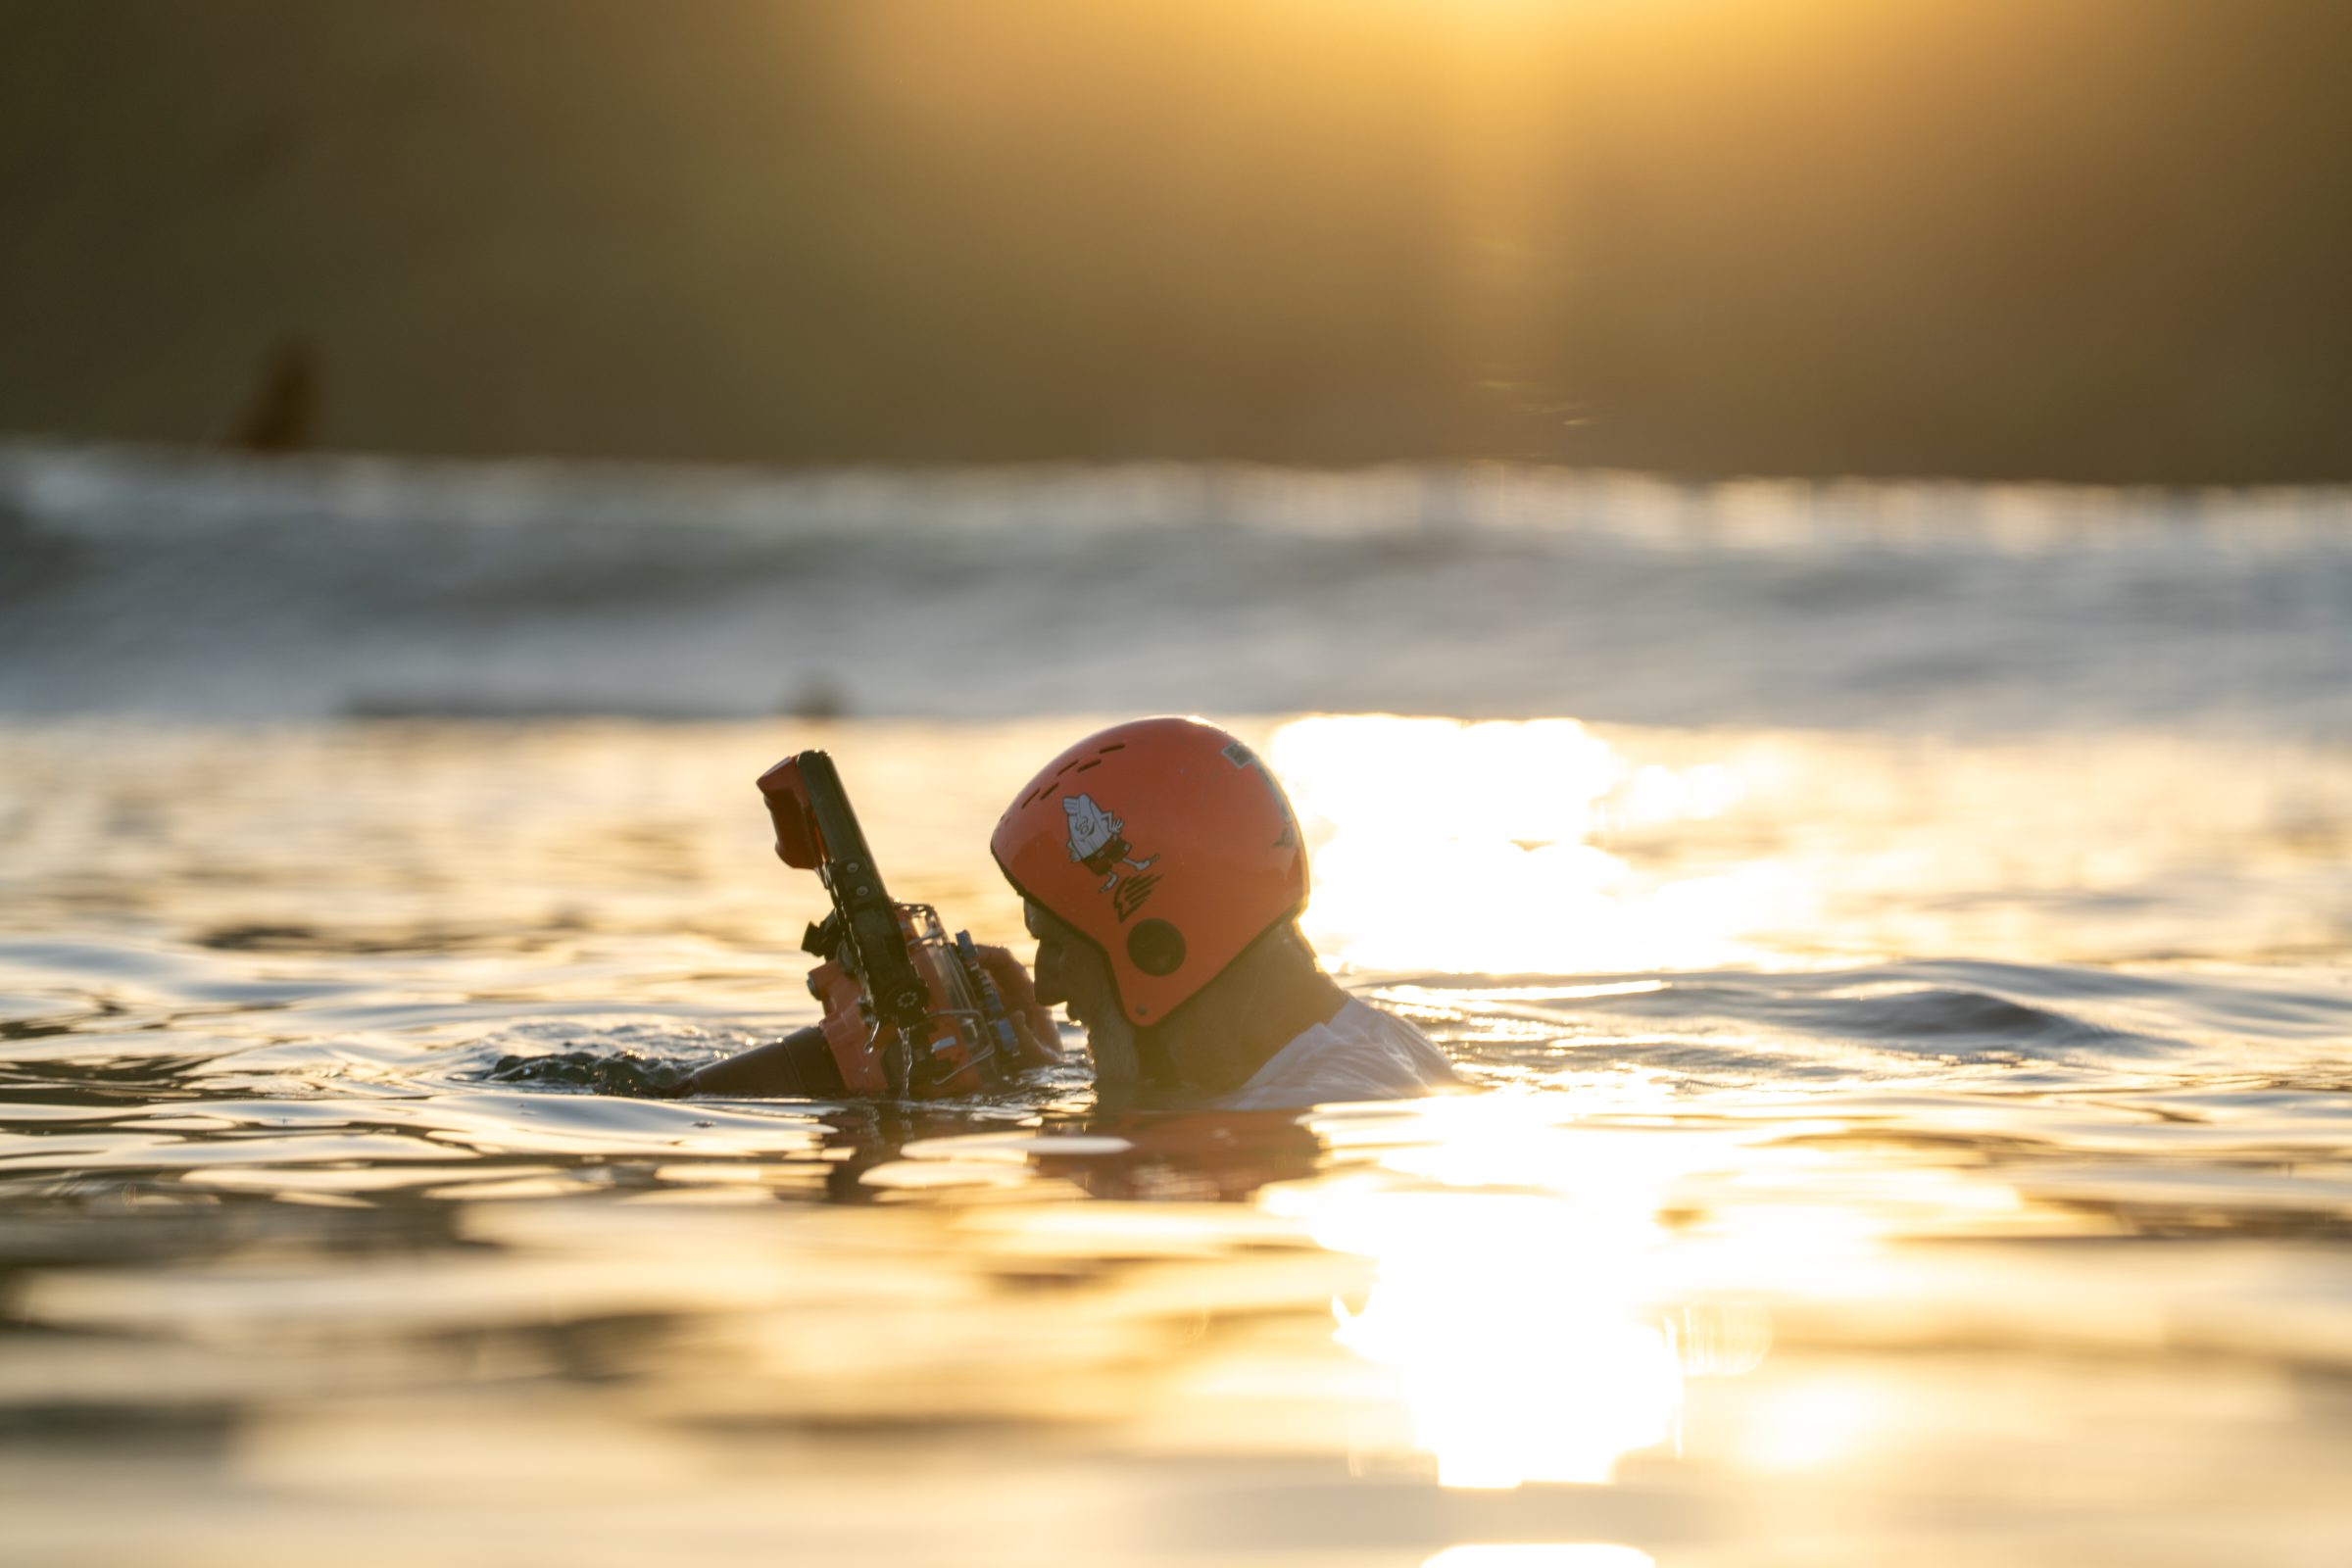
Search this topic and you'll mostly find gear lists. Buy this housing, buy these fins, good luck. The gear matters, but gear is not a method. This is the method. It's how I actually work a session, and it's the same approach I've carried through years covering the WSL longboard tour and five Pacific Longboarder covers.
The water is the best seat in surf photography and the hardest one to earn. From the beach, everyone's photo looks the same because everyone's standing in the same place. From the water, the wave is a wall you're inside of, the light does things sand never sees, and no two photographers can occupy the same shot. That's why it's worth learning properly.
Set the intention, then the settings
Most tutorials start with settings. That's backwards, and it's why most water photos look the same.
Before I put a fin in the water, I decide what the session is about. One sentence, said in my head on the sand. Today is about speed, so I'm panning a slow shutter and I want waves with a long clean face. Today is about the empty wave, so the wide lens goes in and I care about light on the lip more than anything. Today is about faces, so the long lens goes in the port, I sit in the channel, and everything is about eyes.
The intention picks the lens. The lens picks where you sit. Where you sit picks your exposure problem. The settings fall out at the end, almost on their own. Reverse that order and you'll spend the whole swim reacting, and reacting in moving water is how you come home with 900 frames of nothing.
One more rule that took me years to respect: one intention per swim. The ocean doesn't let you have two.
Know before you go
Ten minutes of homework saves an hour of swimming. Sometimes it saves a lot more than that.
Know your entry, because some places have rocks or reef just under the surface that you can't see from the sand, and you don't want to find them with your body. Know the bottom and the current: reef, rock, or sand, deep or shallow, current running or not. Those answers change where you sit, how you get out, and how much risk the session actually carries. Ask before you swim a spot for the first time. A lifeguard, a surfer about to paddle out, a local photographer who swims there every week. One question on the sand beats a bad situation in the water.
Know the swell, and be honest with yourself about your limits. If part of you thinks it might be more than you can handle, don't go out. There's always another session. And know your own limits in surf without a camera before you add one, because a camera in your hands takes an arm out of your swimming.
Two personal rules that never change: always wear fins, and I'd recommend a helmet, always. Mine has saved my life more than once, and it keeps the sun off you too.
Where you float is the photograph
Position is composition. In the water, you compose with your legs first and the viewfinder second. There are three seats.
The channel is the safe seat: deep water beside the break where waves don't detonate. Long lens, faces and action. You see the wave from the side with the surfer coming toward you. Safe doesn't mean boring. It means repeatable.
The shoulder is the middle seat: on the unbroken part of the wave as it peels toward you. Wide or mid lens. The surfer comes at you and past you. This is where most of the shots people call "in the wave" actually live. The skill is leaving before the section you're sitting in becomes the section that breaks.
The impact zone is the expensive seat: inside, where the lip lands. Widest lens, closest drama, the tube looking back at you. You'll take waves on the head, and that's the entrance fee. Never sit there on your biggest day, only on a day you could bodysurf comfortably.
And the rule above all rules: never float where a surfboard's path and a lip's landing cross. You should always know your exit, meaning the direction you'd kick, right now, if the next wave is a cleanup set. If you don't know your exit, you're in the wrong spot.
The swim itself
Practical things nobody writes down.
Getting the housing through waves: on a big wave, I hold the housing with two hands and keep it away from my face, because the last thing you want is a wave strong enough to drive your own housing into you. In a shallow spot, I always point the port toward the sky as the wave passes, because if the wave pushes the housing down farther than you expect, you don't want the front of your port hitting reef or rock. A scratched front element will end a session real fast, and every image with it.
When your eye is on the viewfinder, that little rectangle is your entire field of vision. If you think something might be about to hit you, pull your face away from the housing and look. Yes, you'll miss a shot. You'll also keep your teeth, and you won't ruin someone's wave.
Between waves, check your port for water drops, because a single drop sits in the middle of your best frame like a thumbprint on a scanner. My method for keeping the port clear takes two seconds and it's the question I get asked most, so it has its own article.
Priority, and being welcome
You're the least important person in the lineup and the most mobile obstacle in it. Act like it.
The surfer always has the right of way. If a surfer's headed my way and I don't know them, meaning I've never watched them surf, I'll duck underwater and get completely out of their way before they ever reach me. Completely, so they can keep surfing without spending a single thought on me. With a surfer I know well, I'll take a little more calculated risk. Even then, if any part of me says get out of the way, I get out of the way.
A camera doesn't buy you a seat in a lineup. Showing respect over many sessions does.
Timing and honest math
Sets telegraph themselves: the horizon lumps up, the water pulls, the pack starts paddling. That minute of warning is when you choose: shoot this set, or reposition for the next one. Trying to do both means doing neither.
Within a single wave there are usually one or two honest moments: the takeoff or first turn, and whatever the best section offers. Know which moment your intention wants and be aimed before it arrives. Shoot short, intentional bursts at those moments, not the whole ride.
Expect maybe one portfolio frame per session and a handful of sellable frames per good week. That's professional math, not failure. The photographers who quit are usually the ones who thought a two hour swim owed them twenty shots.
Where this goes next
If you're still at the researching stage, grab the free starter kit from the site. It's the checklist version of the essentials plus a sample preset, and it'll sit in your inbox until the day you're ready to swim.
If you're actually doing this, the In-Water Technique Guide is the complete method this article is cut from: the intention chapter that generates your settings on any given morning, the full seat by seat positioning breakdown, camera settings in depth, the water spot fix, and the safety judgment that keeps sessions fun. My camera settings article covers the exposure recipe, and the guide builds everything around it. The article answers the question. The guide builds the skill.